POLYMER CLAY EARRINGS
Polymer clay earrings are all the rage. This kind of material allows an infinite number of different, beautiful and innovative earring models.
You will be surprised at how many beautiful things are being made. You will see here a lot of different designs and styles.
In addition, you have inside this publication a guide explaining how to make earrings at home in case you want to make them yourself.

WHY BUY POLYMER CLAY EARRINGS
We will tell you about its advantages:
Its strong point is the color combinations:
You can find designs that combine colors in a unique way, creating beautiful and eye-catching shapes. As they can be molded and mixed in different ways, very interesting effects are generated.
They are very light earrings:
Compared to other materials such as metals, ceramics, stones, glass, etc., they weigh very little, which allows them to be worn very comfortably. And, if we dare with large-format designs, we will take care of our earlobe.
You can find more competitive prices:
It is always necessary to pay for the creativity and work of the artist who makes them, but we will not have the minimal increase in price that a work with, for example, stones or precious metals will entail.
This polymer is a very versatile material:
It allows designs and finishes that are difficult to achieve with other materials.
You can learn about all the characteristics of this synthetic clay in our guide on polymer clay.
GALLERY
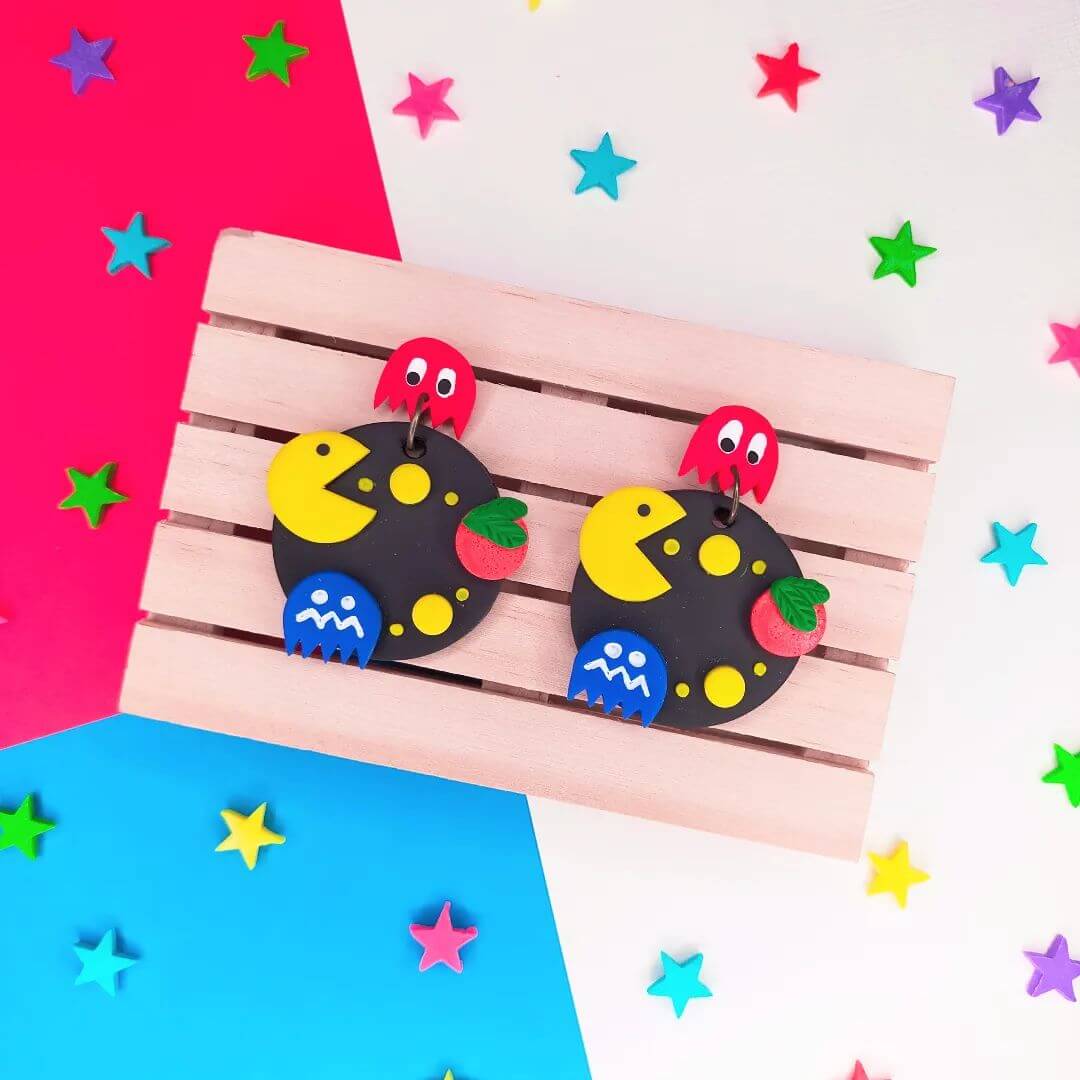
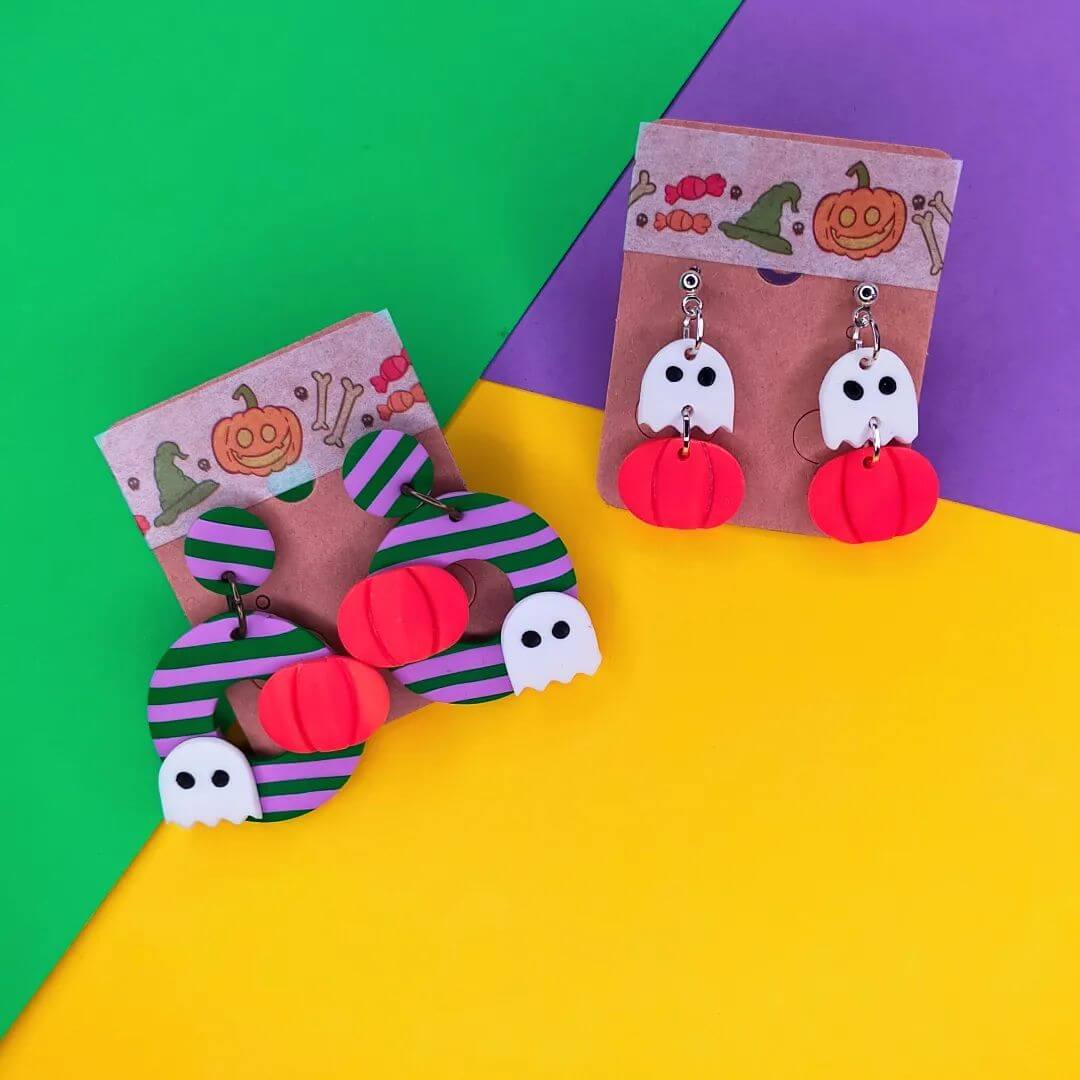
Throughout this page we are going to show you the creations of several artists, they can give you ideas or you may be interested in acquiring directly some of their work. All of them are unique designs handmade by authors with experience and talent in working with this material, each one with her own style.
We do not sell them, but we try to give visibility to the handmade work of different creators. If you are interested in any of what you see you can write us using the Whatsapp or the form.


These pieces representing the 4 elements are created by Ablaira earrings.
HOW TO MAKE POLYMER CLAY EARRINGS
Here we will explain how to make earrings step by step.
Without going into the more artistic part about colors, techniques, shapes and motifs to choose, etc., which is more personal, we will help you on the steps to use to avoid the most common mistakes.
We are going to give you tips mainly about working in sheets, which we will then cut in different ways. Another type of earrings involves modeling from scratch, for which you can find tips in our article on how to model polymer clay.
There is also the option of using molds.
CHOOSING CLAY
It is important to choose the type of clay to be used.
Some people only use Fimo, a very popular brand.
There are supporters of the Sculpey brand, which sells softer than average clays, such as Sculpey “soufflé”.
Sculpey “Premo” may be a little more difficult to knead but is also highly recommended.
However, some artists advise avoiding Sculpey III, as they say it is easier for bubbles to form and the pieces can break more easily.
Cernit is also another well-known and widely used brand.
In general, it also depends on the hardness to which each one is accustomed, but by preparing the clay well beforehand, all of them can be easily modeled. We will talk about this later.
As for the size of the package you have to consider if you are going to use this color in many pieces and in quantity and prefer a slightly larger size, or if it is only for small details.
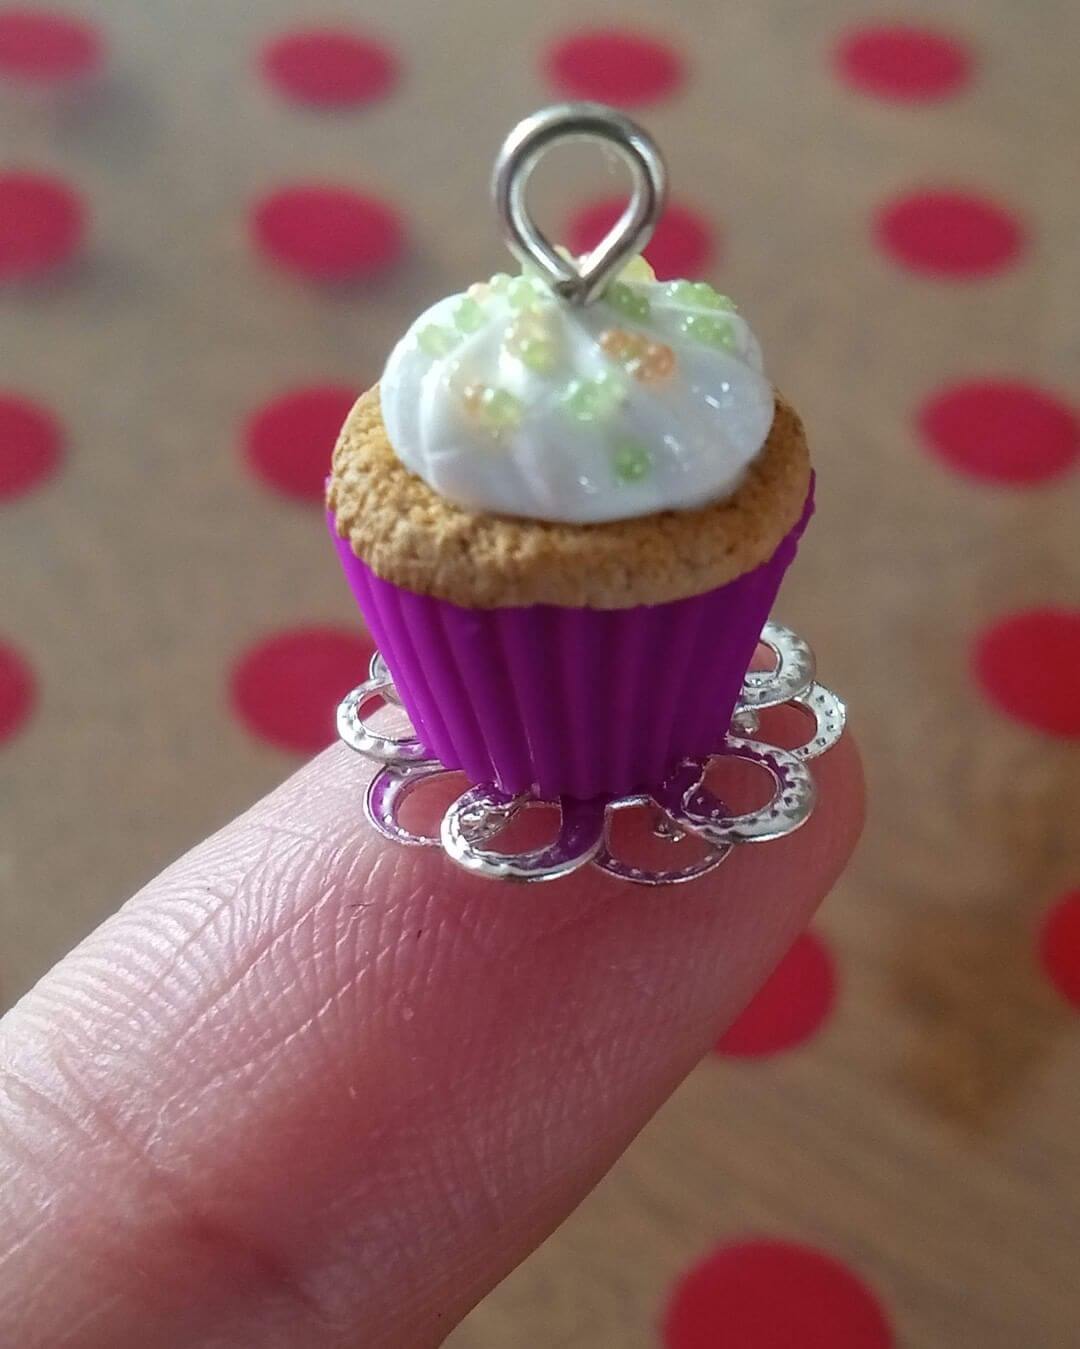
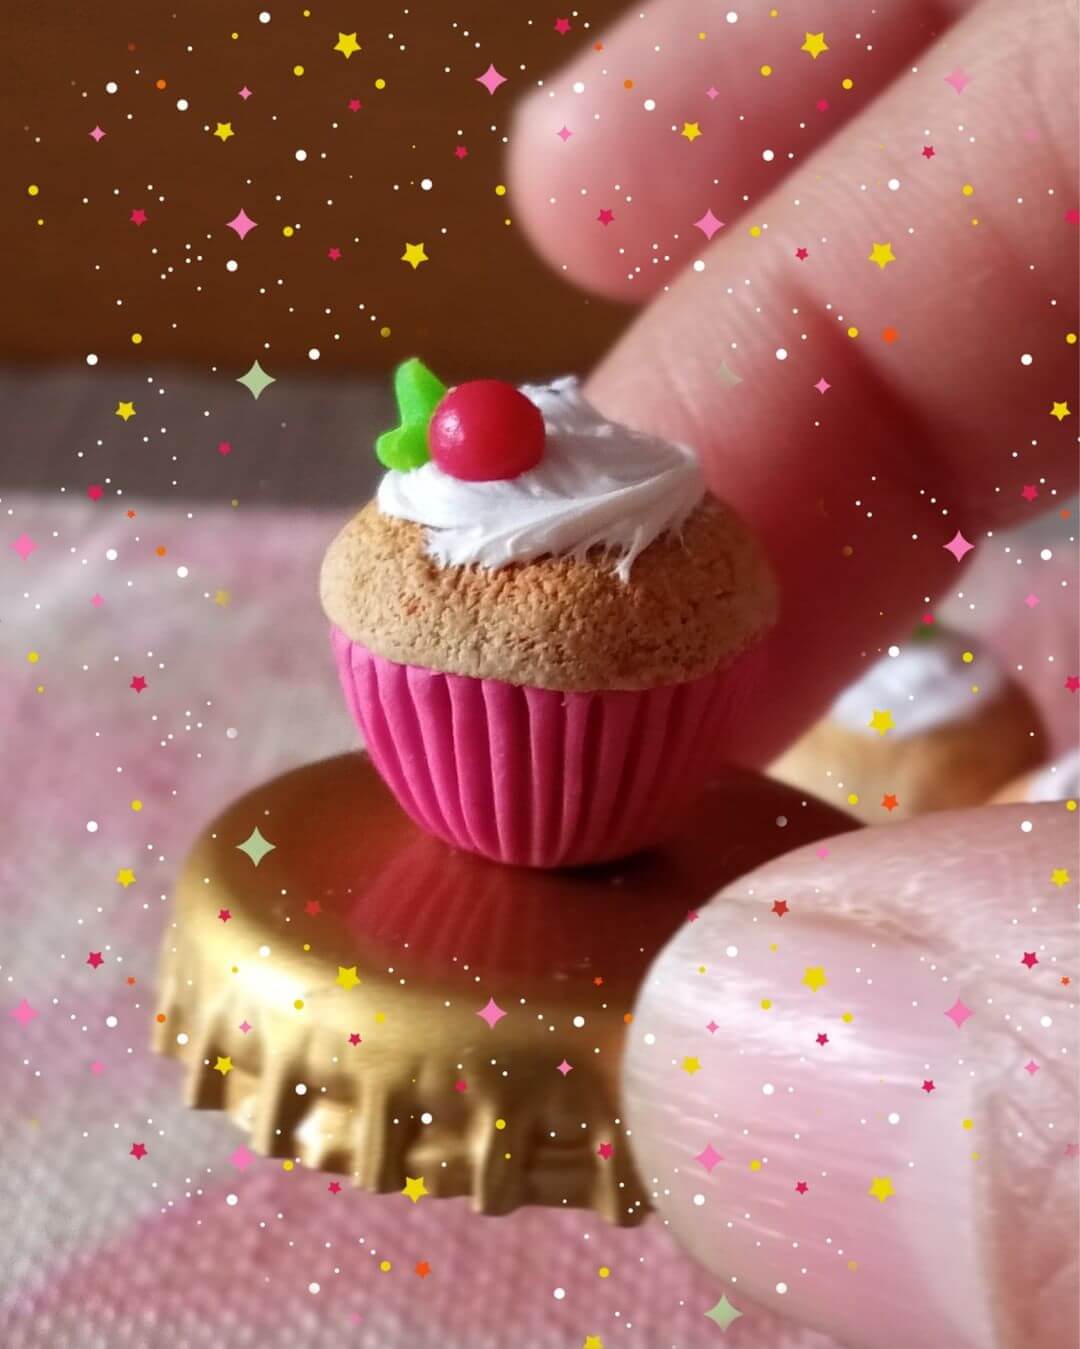
The models below are created by Monica Flores of Michi miniatures.
MATERIALS TO MAKE THE EARRINGS
Well, we already have the clay, now let’s talk about what you may need to make earrings in Fimo, Sculpey or whatever brand.
First of all, it is important to choose well the surface where we are going to work, which has to be smooth and firm, it can be a ceramic tile, a glass, directly on a suitable table, etc.
Tip:
It is tempting to think about using baking paper to avoid working directly on a table, countertop, etc., our recommendation is to avoid it because it can leave you with small marks on the surface of the pieces that you will then have to smooth out.
What is needed to make earrings in polymer clay:
- Rolling pin to knead and prepare the sheet.
- A laminator if we want more comfort in this task (later we will give you our opinion about this tool).
- A small blade or a box cutter.
- A large clay-cutting blade or something similar that will serve to peel the sheet off the surface.
- Chopsticks to manipulate the small pieces.
- Cutters of different shapes and sizes.
- A pair of pliers used in jewelry.
- Oven thermometer.
- Block sandpaper or sanding paper.
- Jewelry rings or open jump rings, nuts and hooks for earrings, clasps, etc. in short, everything that is needed to transform the object we make into an earring. They can be purchased loose or in a kit that combines all the necessary parts.
- A roller to give textures.
- Stencil or leaf to make decorative patterns on the surface.
- An extruder, to extrude the clay into the desired shape.
To clarify that you may not need everything listed, there are tools that can be supplied with some that we already have or homemade elements. On the other hand, there are more tools that we did not mention, which over time may compensate you to buy for the type of work you are doing.
For example, the world of molds is infinite and is already a type of work with its differences with the way of making earrings from a plate.
There are tools, such as the extruder, that some people consider essential and others will never need.
The goal of this tutorial is to give you ideas about some of the tools available for working with polymer clay and then to help you find your own style.
As for where to buy them depends on where you are and the stores you have nearby, in any case on Amazon there are all those we have mentioned and you will also see many more things that can inspire you. Well, it’s not only a matter of inspiration, it also depends on the budget of each one, of course.
Many of the options we have told you about come together in some kits that include cutters, punches, toothpicks, all the metal parts you will need to assemble an earring, etc.
Working the clay with a roller and different tools
PREPARING THE DOUGH
Once we have chosen the color or colors, we pass them through the laminator. When it comes out it is folded and passed through again, it is a simple way to soften this clay.
Tip: When folding the sheet watch that no air is left between the layers, above all it is important that it is folded in half, not making a “roll” on itself; i.e., join the ends and close.
If you do not have a laminator, you can use an acrylic or other roller.
Actually, most of us decide to buy a laminator when we see how much easier it makes things, since the process of conditioning the clay is essential and doing it with a roller can be a bit tiring if it is done too many times.
In no case is it advisable to work it as soon as it is taken out of the packaging.
Moreover, on many occasions we have prepared the dough, and what we have left over we have kept for a while, in this case it is also advisable to pass it again through the dough sheeter.
Preparing your polymer clay is essential not only to soften it, but also to remove any air bubbles it may have, which, in addition to being visible on the surface, can cause the piece to break.
We repeat the process until the clay is to our liking and above all we notice that the surfaces on both sides are adequate and smooth.
It may pay off in time to get a laminating machine.
THE THICKNESS OF THE SHEET
When we are going to create a sheet on which we will draw shapes to make the earrings, we must choose a thickness that we like and that is suitable for the result we want.
With the roller it is difficult to achieve the right height and uniformity.
The sheeter will not often give us the thickness we want, as the sheets come out quite thin.
Although there are some sheeters that allow various thicknesses to be achieved, they are more expensive and in many cases will still be too thin, on the other hand it is the fact that thin sheets are being made that conditions the clay well.
Trick:
You can prepare the dough with the sheeter, fold it and at the end give it a pass with the rolling pin putting on the sides some strips with the right height so that it rolls on them and make a stop so as not to crush the dough more than necessary, so it will look good.
There are also rollers with adjustable height by means of washers that will be useful.
Well, now we have our griddle ready.
USING MOULDS
We can also prepare the dough and use molds to achieve the shapes we want.
There are many different ones on the market.
When we use molds we may need a very soft clay and by kneading we do not get to the point we want, so we can add liquid polymer clay to the dough, calculating the necessary amount.
You can learn more about preparing the dough and the use of other techniques in our article on how to model polymer clay.
DECORATING EARRINGS
Once the plates are ready, we place them on the tile or surface where we are going to work. Before cutting the shapes we can put different parts of other colors on the plate creating the motifs we want, we can mix them together.
You can make thin churros and “snake” them on top, small balls or shapes to place them in certain places (if we have prepared these elements separately, we will have to place them with a toothpick or tool that we have for it, avoiding using our fingers, since they will stick to us and it will be difficult to leave them on top of their place).
MAKING SHAPES IN POLYMER CLAY
Now it is time to use the cutters to create different shapes.
We can look for the best way to cut the pieces in order to optimize the clay and to have as little as possible left over.
The ideas are endless, you can be inspired by some of the models you have on this page.
There are a large number of cutters on the market, as well as different sizes, allowing you to make, for example, rings.
For circular earrings you can also recycle some element that you have at home, such as caps, making sure that you make a cut as clean as possible that does not force you to be cutting/sanding edges.
Tip:
If you see piping and/or areas sticking out at the edges, it will be easier for you to take advantage now to remove them with a blade, than later, once the clay is fired andar, filing.
Another option is to create a cylinder and cut it to create circular shapes.
HOLES AND PINS
Now is a good time to pierce the polymer clay, depending on where the earring will be attached. With a punch or any other tool we have for this purpose, we prepare all the pieces.
Some people make the holes in the figures once they have been fired with a Dremel type drill, but in our opinion they can be made earlier in a simpler way. Another thing is if you already have such a tool and want to try to make a “cleaner” hole. In addition, these machines have the option of incorporating a sander, which is more convenient if you are going to make many pieces.
To attach the posts or pins in the case of this type of earrings, first we can fix it on its base with a little adhesive (a very common one you can use is the E6000), then apply some adhesive for polymer clay all over the base, extending it also to the piece so that they are well united, we can use a stick or a fine brush, which will extend it better.
You can use one of Sculpey’s. You will see that there are adhesives that are whitish, then, after baking, they become more transparent and are barely visible.
FIRING POLYMER CLAY
Now comes the baking. The temperature will be the one recommended by the manufacturer of the material to be used. However, it is essential to control the real temperature of our oven and, from experience, many of them do not correspond to the real temperature, so it is essential to have an oven thermometer.
Tip:
Don’t risk your work when it comes to baking, it is worth spending some money on a thermometer, you will amortize the expense in no time and save yourself some trouble.
Depending on the platform we have used to work the clay, we could put it directly into the oven, for example, if it were a ceramic tile. If it is not suitable, we simply use the oven tray itself. It is a good idea to put baking paper underneath.
Regarding the baking time, even if we pay attention to the manufacturer and be careful, it is always good to check every 5 or 10 minutes to make sure that our work does not burn.
Trick: To avoid the formation of bubbles during baking, in the case of flat pieces, we can put some kind of smooth cardboard that does not leave marks, and on top of it a flat tile of a certain weight that covers the plate, this pressure will help prevent these bubbles from coming out and being seen on the surface.
You have here a collection of designs made by Sandra Hernandez of Pendientitis.
A GOOD FINISH FOR EARRINGS
When we have taken the pieces out of the oven, once they are cool, we can sand them if there are imperfections, or remove some ridges with the knife or the cutter (remember that it is better to do this cutting process before baking as we said before).
For very small imperfections, such as fingerprints, we can also use acetone for a good surface finish, spreading it with a cotton swab or preferably with a brush.
Finally, there are different transparent products to treat surfaces and give them a more attractive finish, such as Sculpey satin or Sculpey gloss glaze, which is more glossy.
PLACING THE METALLIC ELEMENTS
In those in which we have made holes, we only need to put the necessary small rings and hooks, for this we will use pliers.
Very important, when opening the ring to introduce it through the small hole, we must not pull the ends, but we have to make a twist to achieve the necessary space to insert one end. In this way, we can close the ring without losing its shape. If we pull the ends outward it will deform.
Well, if you want to encourage you to make your own creations, this basic explanation on how to make polymer clay earrings step by step, will hopefully save you some beginner’s mistakes and give you a first overview of what to do.
WRITE TO US
If you liked any of the pieces we show or you have any idea or order.
We look forward to reading you.
(Except to respond to your inquiry, we will NOT use your email address for marketing communications.)
You may also be interested in these articles:
POLYMER CLAY
A guide with everything you need to know about polymer clay. Ideal to start creating your first pieces at home.
read more…
MODELING POLYMER CLAY
We give you the tips you need to get the most out of this fascinating material. Learn tricks and avoid common mistakes.
read more…
RESIN FIGURES
The complete guide about resin figures. How to paint the pieces, types of resin…, and you will see incredible sculptures already finished.
read more…


